Introduction
Making your own CBD tincture at home is a cost-effective and convenient way to enjoy the benefits of cannabidiol (CBD). Tinctures are easy to make, versatile, and provide a smoke-free option for consuming CBD.
In this guide, we’ll walk you through the step-by-step process of making CBD tinctures, including tips for dosing, storage, and best practices.
What Is a CBD Tincture?
A CBD tincture is a liquid extract made by soaking CBD-rich hemp flower or isolate in high-proof alcohol or carrier oil. The result is a potent, easy-to-use tincture that can be taken sublingually, added to foods and beverages, or even applied topically.
Benefits of CBD Tinctures
- ✅ Easy Dosage Control: Droppers allow for precise measurement.
- ✅ Fast-Acting Relief: When taken sublingually, effects can be felt within 15–45 minutes.
- ✅ Versatile Use: Can be added to foods, beverages, or applied topically.
- ✅ Long Shelf Life: Properly stored tinctures can last years without losing potency.
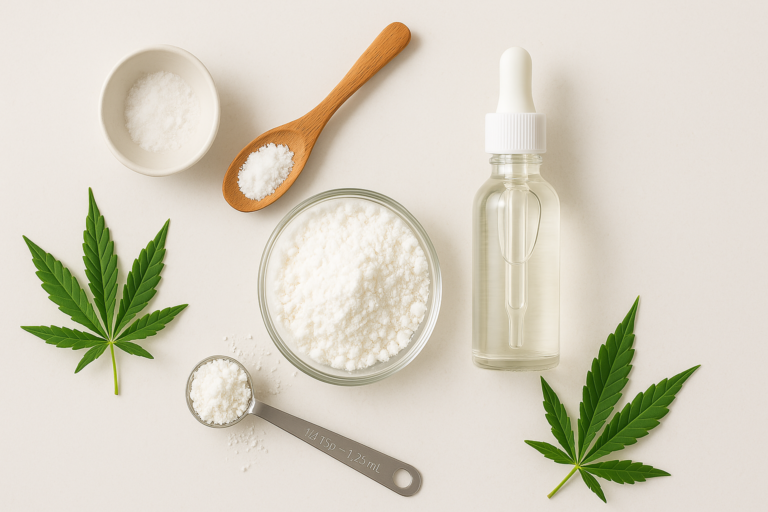
What You’ll Need
To make your own CBD tincture, you’ll need:
- CBD-Rich Hemp Flower or CBD Isolate
- High-Proof Alcohol (190 Proof / 95% Ethanol): Grain alcohol like Everclear is ideal.
- Carrier Oil (Optional): MCT oil, olive oil, or coconut oil for oil-based tinctures.
- Glass Jar with Airtight Lid: For steeping the hemp.
- Dark Glass Dropper Bottles: For storing the finished tincture.
- Cheesecloth or Fine Mesh Strainer: For filtering out plant material.
- Funnel (Optional): To help pour the tincture into bottles.
Step-by-Step Process
Step 1: Decarboxylate Your Hemp Flower
To activate the CBD, you must decarboxylate your hemp before making a tincture.
- Preheat your oven to 240°F (115°C).
- Spread your ground hemp evenly on a baking sheet lined with parchment paper.
- Bake for 30–40 minutes, stirring occasionally.
- Allow to cool completely before using.
Step 2: Mix Hemp with Alcohol or Oil
- Place the decarboxylated hemp into a glass jar.
- Pour enough alcohol or oil over the hemp to fully submerge it.
- Seal the jar tightly and shake vigorously.
- Store the jar in a cool, dark place for 1–3 weeks, shaking daily.
Step 3: Strain and Bottle
- Strain the mixture through cheesecloth or a fine mesh strainer.
- Pour the filtered tincture into dark glass dropper bottles for storage.
- Label the bottles with dosage information.
Dosage Tips
- Start with 1–2 drops under the tongue and gradually increase if needed.
- Effects are usually felt within 15–45 minutes when taken sublingually.
- When added to food or beverages, effects may take 1–2 hours to set in.
Storage
- Store tinctures in a cool, dark place to preserve potency.
- Properly stored tinctures can last 1–2 years or more.
Potential Uses
- 🌿 Sublingual Dosing: Fast-acting relief from pain, anxiety, or inflammation.
- 🌿 Cooking: Add tinctures to sauces, drinks, and other recipes.
- 🌿 Topical Application: Combine with carrier oils for DIY CBD-infused creams or balms.
Conclusion
Making your own CBD tincture is a straightforward process that allows you to customize your dosage and enjoy the benefits of CBD in a convenient, discreet form. With the right materials and a little patience, you can create a potent tincture to suit your personal needs.
Ready to try making your own CBD tincture? Browse our selection of high-quality CBD products to get started!